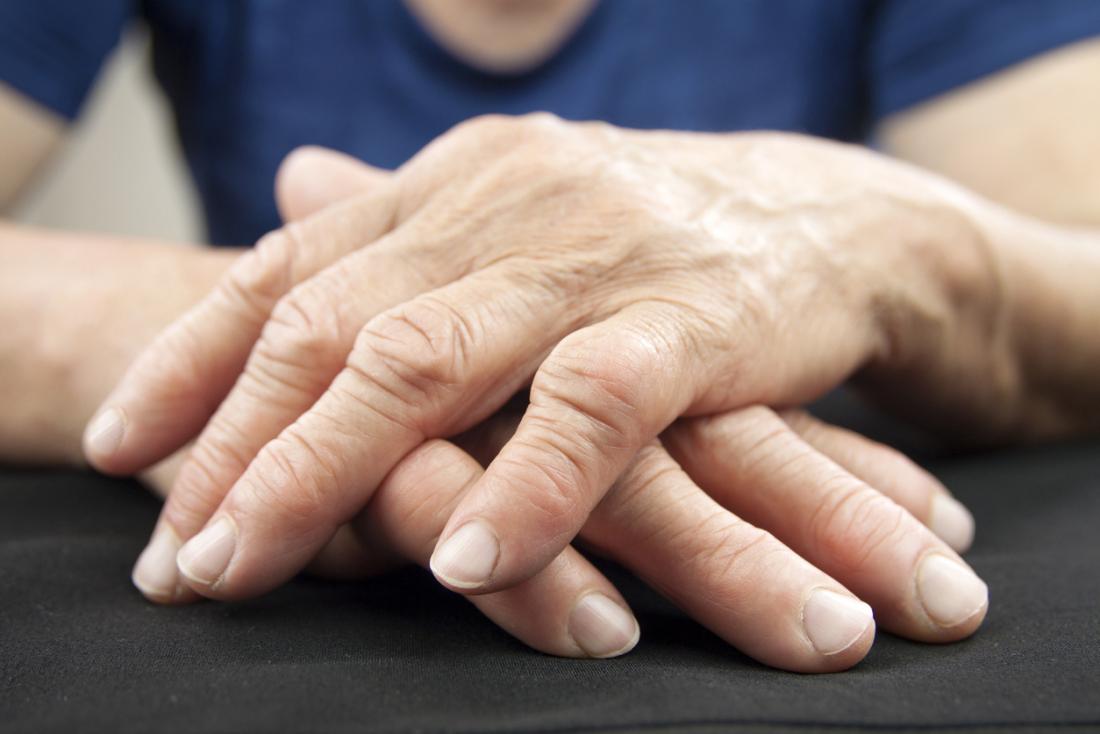
Painful hands
Arthritis wears away at the cartilage of a joint, which is the cushioning material between bones.
This can cause inflammation and irritation of the synovial lining, which produces the synovial fluid that helps protect and lubricate the joint.
When arthritis affects the joints of the hands, it can cause pain and stiffness. That pain can get worse whenever you use your hand a lot for repetitive tasks.
For example, typing on a computer keyboard or gripping utensils in the kitchen can cause discomfort. You may also lose strength in your hands.
Weakness in your hands can make it hard to do even the simplest everyday tasks, such as opening jars.
Treating hand arthritis
There are some medicinal options for treating hand arthritis.
You can take oral pain-relieving medications. You can also get steroid injections in your joints, and splint your hands to give them support.
If these options don’t work, you may need to have surgery to fix the damaged joint.
There are also many home treatments you can use to reduce the pain and disability of arthritis.
One easy and noninvasive way to keep the joints flexible, improve range of motion, and relieve arthritis pain is by doing hand exercises.
Hand exercises can help strengthen the muscles that support the hand joints. This can help you perform hand movements with less discomfort.
Movement can also help to keep ligaments and tendons flexible, which can help improve range of motion and hand function.
Finally, exercise can increase the production of synovial fluid, which can also improve joint function.
Exercise #1: Make a fist
You can do this easy exercise anywhere and anytime your hand feels stiff.
- Start by holding your left hand out with all of your fingers straight.
- Then, slowly bend your hand into a fist, placing your thumb on the outside of your hand. Be gentle don’t squeeze your hand.
- Open your hand back up until your fingers are straight once again.
Do the exercise 10 times with the left hand. Then repeat the whole sequence with the right hand.
Exercise #2: Finger bends
- Start in the same position as in the last exercise, with your left hand held up straight.
- Bend your thumb down toward your palm. Hold it for a couple of seconds.
- Straighten your thumb back up.
- Then bend your index finger down toward your palm. Hold it for a couple of seconds. Then straighten it.
Repeat with each finger on the left hand. Then repeat the entire sequence on the right hand.
Exercise #3: Thumb bend
- First, hold your left hand out with all of your fingers straight.
- Bend your thumb inward toward your palm.
- Stretch for the bottom of your pinky finger with your thumb. If you can’t reach your pinky, don’t worry. Just stretch your thumb as far as you can.
- Hold the position for a second or two, and then return your thumb to the starting position.
Repeat 10 times. Then do the exercise with your right hand.
Exercise #4: Make an ‘O’
Start with your left hand out and fingers straight.
- Curve all of your fingers inward until they touch. Your fingers should form the shape of an “O.”
- Hold this position for a few seconds. Then straighten your fingers again.
Repeat this exercise a few times a day on each hand. You can do this stretch whenever your hands feel achy or stiff.
Exercise #5: Table bend
- Place the pinky-side edge of your left hand on a table, with your thumb, pointed up.
- Holding your thumb in the same position, bend the other four fingers inward until your hand makes an “L” shape.
- Hold it for a couple of seconds, and then straighten your fingers to move them back into the starting position.
Repeat 10 times, and then do the same sequence on the right hand.
Exercise #6: Finger Lift
Place your left-hand flat on a table, palm down.
- Starting with your thumb, lift each finger slowly off the table one at a time.
- Hold each finger for a second or two, and then lower it.
- Do the same exercise with every finger of the left hand.
After you’re done with the left hand, repeat the entire sequence with the right hand.
Exercise #7: Wrist stretch
- To exercise your wrist, hold your right arm out with the palm facing down.
- With your left hand, gently press down on the right hand until you feel a stretch in your wrist and arm.
- Hold the position for a few seconds.
Repeat 10 times. Then, do the entire sequence with the left hand.
Outlook for arthritis in hands
Make these exercises part of your daily routine for the best results.
Talk to your doctor if these exercises become difficult for you to do. Your doctor can recommend more specific exercises for you, or other treatments to help your pain.
Precision Pain Care and Rehabilitation has two convenient locations in the Richmond Hill – Queens and New Hyde Park – Long Island. Call the Richmond Hill office at (718) 215-1888, or (516) 419-4480 for Long Island office, to arrange an appointment with our Interventional Pain Management Specialist, Dr. Jeffrey Chacko.


