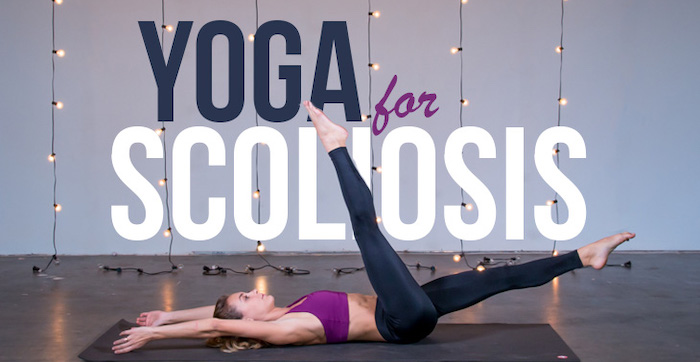
Engaging in a routine yoga program targeted to treat scoliosis may help reduce the severity, correct your spinal posture, and/or improve balance.
To help you kickstart a yoga routine, here are 4 easy yoga poses that you can try at home with a yoga mat or a thick towel. It is important to start slow and easy, and as with any exercise, always check with your doctor or therapist first.
1. Mountain Pose
This is a great pose for beginning your yoga practice. It helps with balance and core strength, and it is a pose that requires you to stand tall and steady, like a mountain.
- Stand with your big toes touching and your heels slightly separated (inverted V shape).
- Relax your shoulders and allow your arms to hang, relaxed, by your sides.
- Close your eyes, and envision yourself firmly planted in the ground, concentrating on your feet.
- Lift up onto the balls of your feet, and then your toes, distributing the weight evenly across your feet.
- Settle back down flat and find your balance. Fan out your toes.
- Engage your thigh muscles, but do not lock your knees.
- Lift your pelvic bone slightly toward your navel.
- Keep your chin parallel to the floor and relax your shoulders, letting your arms hang naturally.
- Relax your facial muscles and take slow breaths. If possible, practice diaphragmatic breathing methods with inhalation through your nose allowing your stomach to move out (and diaphragm expand), and exhalation through pursed lips.
Stay in this pose for 30 seconds to 1 minute, then shift your weight to your left foot and continue with the tree pose (below).
2. Tree Pose
Another standing pose, the tree pose, helps with posture, strengthening your core, and improving your overall balance. It is also helpful for stress reduction.
- After doing the mountain pose, shift your weight to your left foot.
- With your right hand, reach down and grab your right ankle.
- Lift your right foot and place the sole of your foot against your left thigh. If you can’t reach up to your thigh, try putting your foot against your calf instead.
- Stretch and lengthen your spine. Draw your pelvic bone inward and point your tailbone toward the floor.
- Place your palms together in front of your chest and move your shoulder blades together.
- Gaze forward and take slow and steady breaths.
Stay in this pose on your left leg for 30 seconds, slowly working up to one minute. Repeat with your right leg.
3. Cat/Cow Pose
This pose opens up the spaces between your vertebrae and stretches the muscles and tendons that support your spine.
- Begin on all fours with your hands below your shoulders and your knees below your hips (also known as tabletop pose).
- Look down towards your yoga mat and spread your fingers.
- Engage your abdominal muscles.
- As you inhale, lift your head and tailbone, making your lower back concave.
- As you exhale, tuck your tailbone, release your neck, and gently drop your head while rounding your back and neck.
Repeat 5 times and slowly work your way up to 10.
4. Child’s Pose
This is a relaxing pose and is best to do after the cat/cow pose.
- Begin seated on your heels.
- Stretch your arms and hands out in front of you.
- Bend your upper body forward and lower your chest close to your knees.
- Continue to stretch your arms forward until you feel a comfortable stretch (and no pain).
- Take deep breaths and relax as you feel your back and spine muscles lengthening.
- Relax your entire body.
Stay in this pose for 30 seconds and work your way up to a few minutes.
If you try these poses and like them, seek guidance from an experienced yoga instructor to learn more. If you're considering signing up for a yoga class, look for an instructor who is experienced in working with someone with spinal conditions.
A yoga instructor can also help with modifications of different poses if needed. Once you are comfortable moving through different poses, you will be able to take some time anywhere to stretch and relax.
Precision Pain Care and Rehabilitation has two convenient locations in Richmond Hill – Queens and New Hyde Park – Long Island. Call the Richmond Hill office at (718) 215-1888, or (516) 419-4480 for the Long Island office, to arrange an appointment with our Interventional Pain Management Specialist, Dr. Jeffrey Chacko.


